3D Printing & Laser Cutting

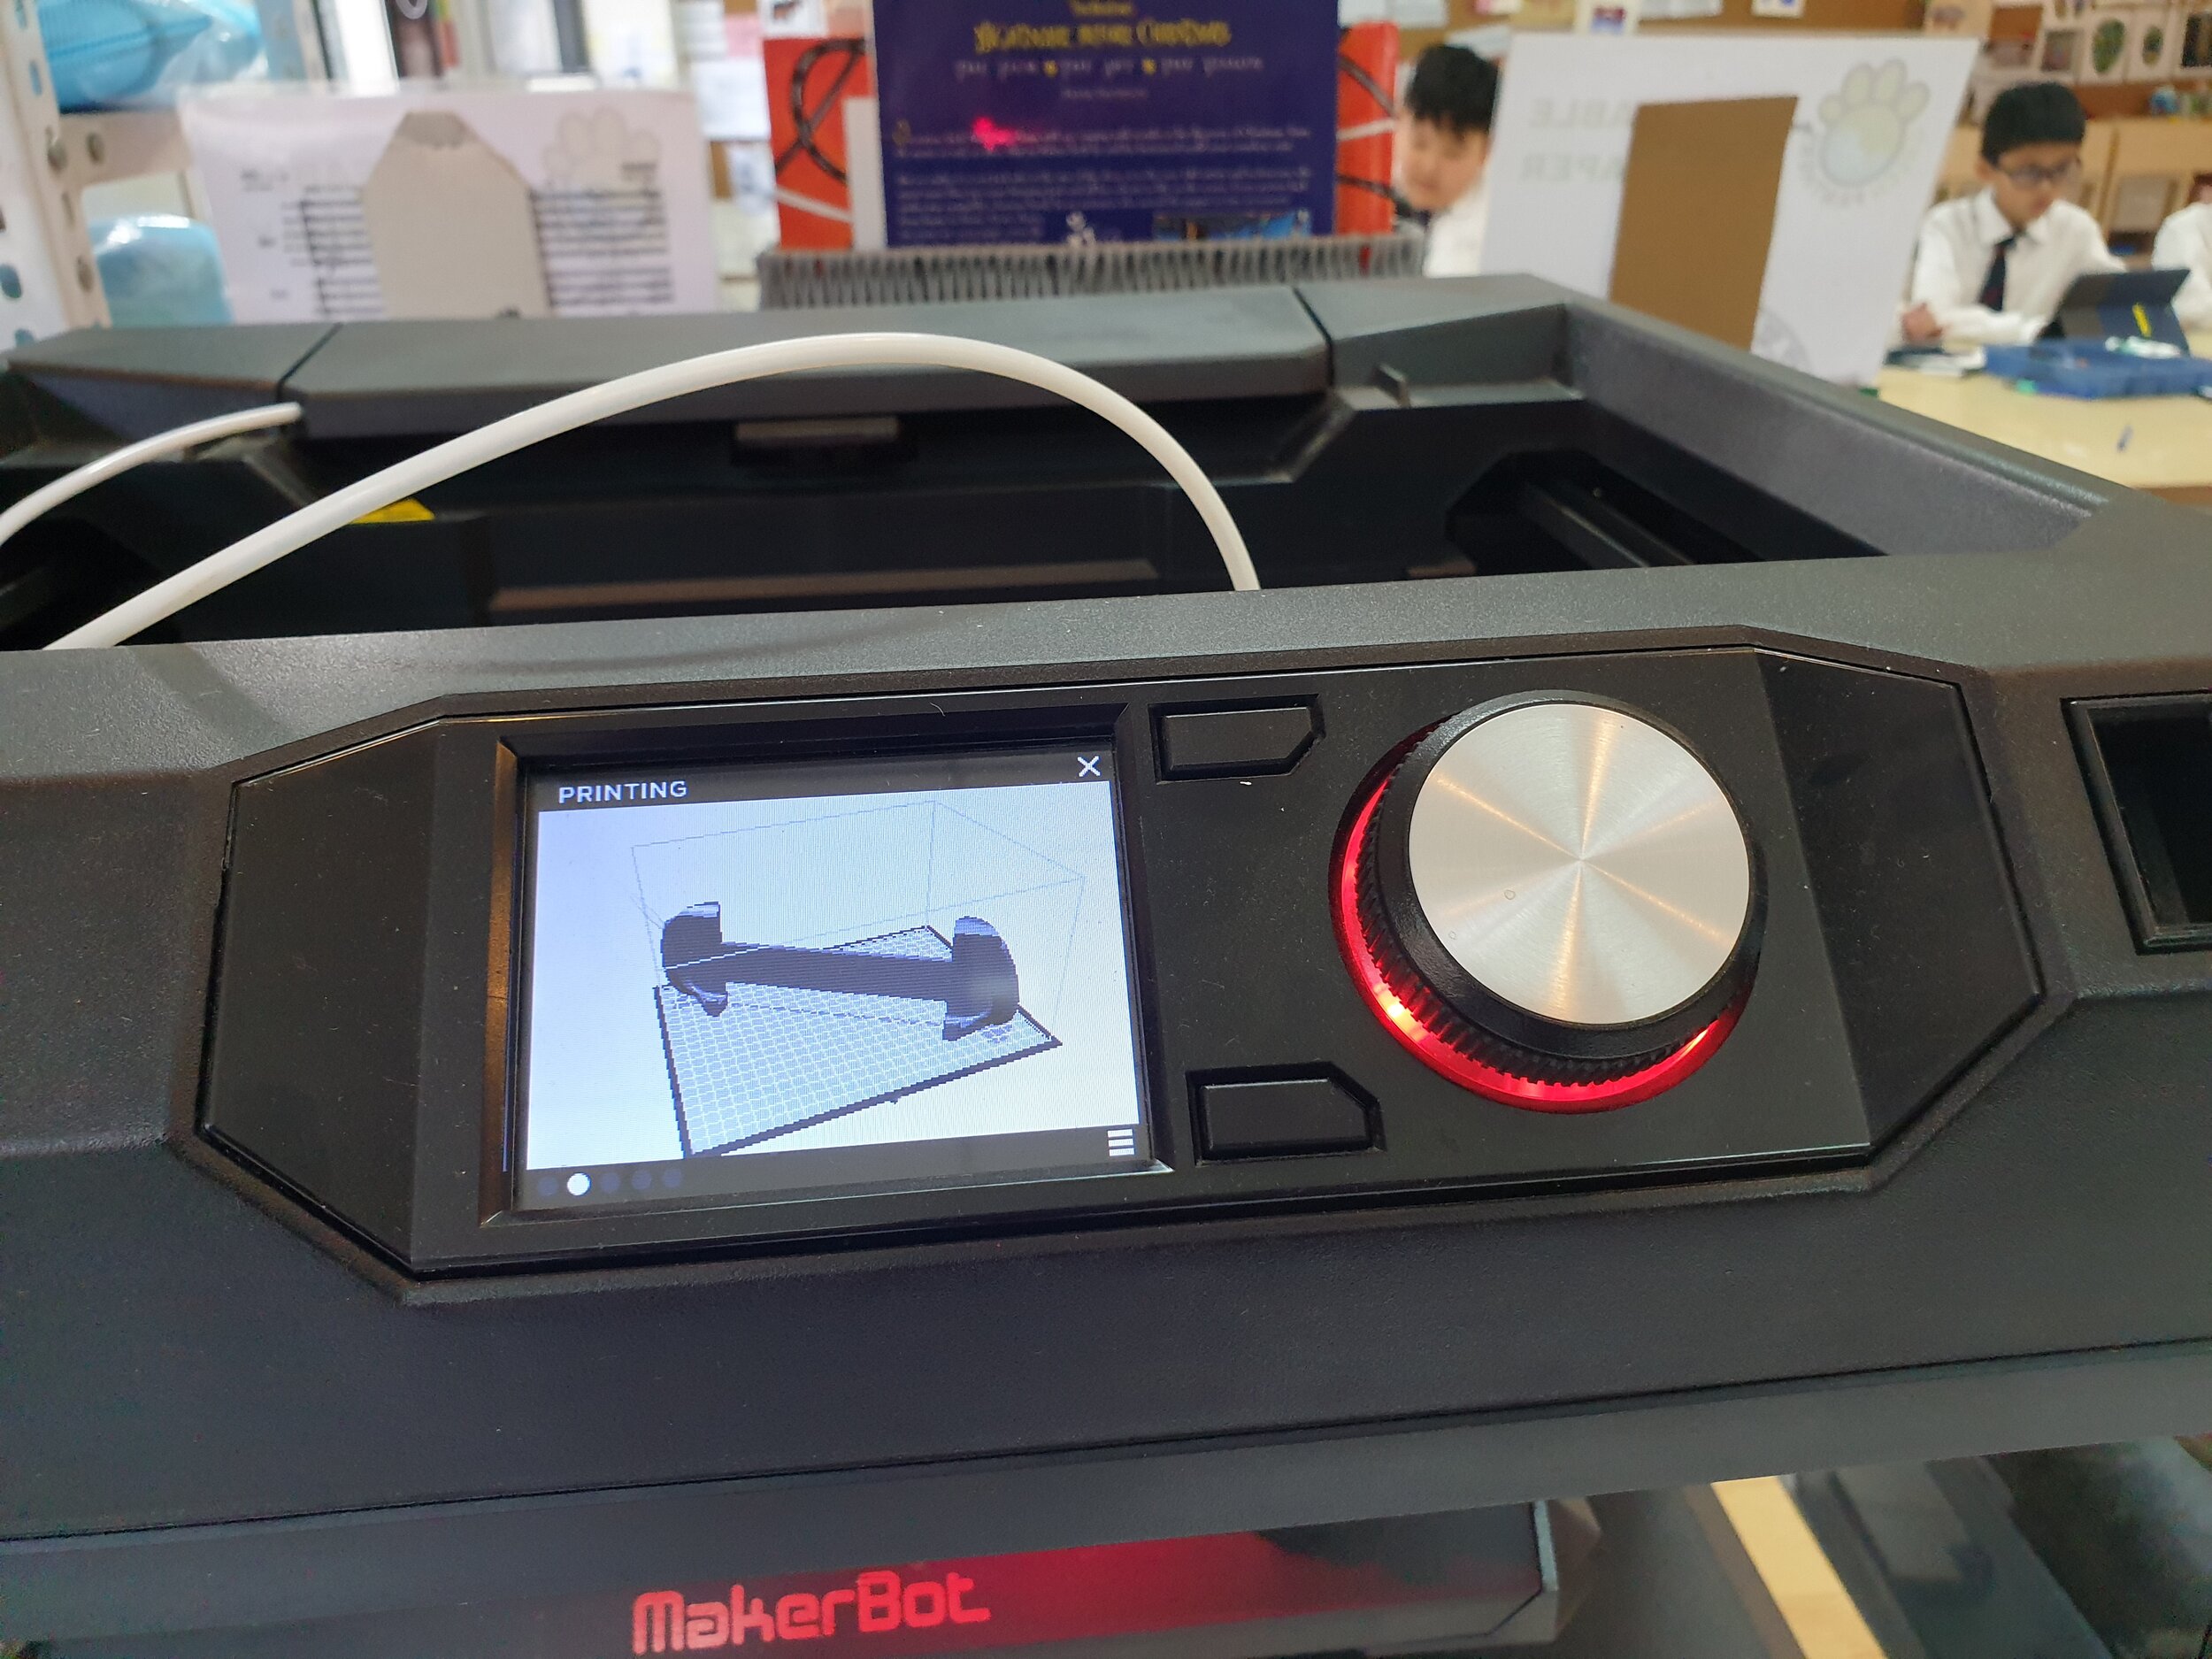
Our super Flash Forge 3D printers
3D Printing
I have been very lucky that some of the schools I have worked in have had their own 3D printers in the primary schools and the software that we use is called Tinkercad, free at tinkercad.com
I highly recommend teachers to use the design features on tinkercad even if you don’t own 3D printing machines. Learning to design and connect shapes is harder than you might think and the real skill is learning to design on Tinkercad, rather than the printing in itself.
On Tinkercad you can set up classes and each student can have their own login and code to access and as the teacher you can see everyone’s designs.
We make cross curricular connections, for example year 5 students were learning about Space and Exploration. In class and through art lessons students looked at what life would be like on Mars if it were to be colonized. Students worked in teams to research, plan and design buildings that would be suitable for life in mars. Their designs were regularly assessed and then printed in a rainbow of colours! Next time we might design suitable housing for scientists in Antarctica, just like in the recent movie Where'd You Go, Bernadette.

3D Design & Printing Tips
Tips for designing with large numbers of students:
Name-Make sure students name their work immediately into an easily recognisable format, such as NAME, CLASS, DESIGN TYPE and COLOUR (e.g. Bell 3C Treehouse Blue)
Colour choices-Although I like students to choose the colour filament they wish their work to be printed in, this can become very complex very quickly. Instead limit the colour choices to only 2.
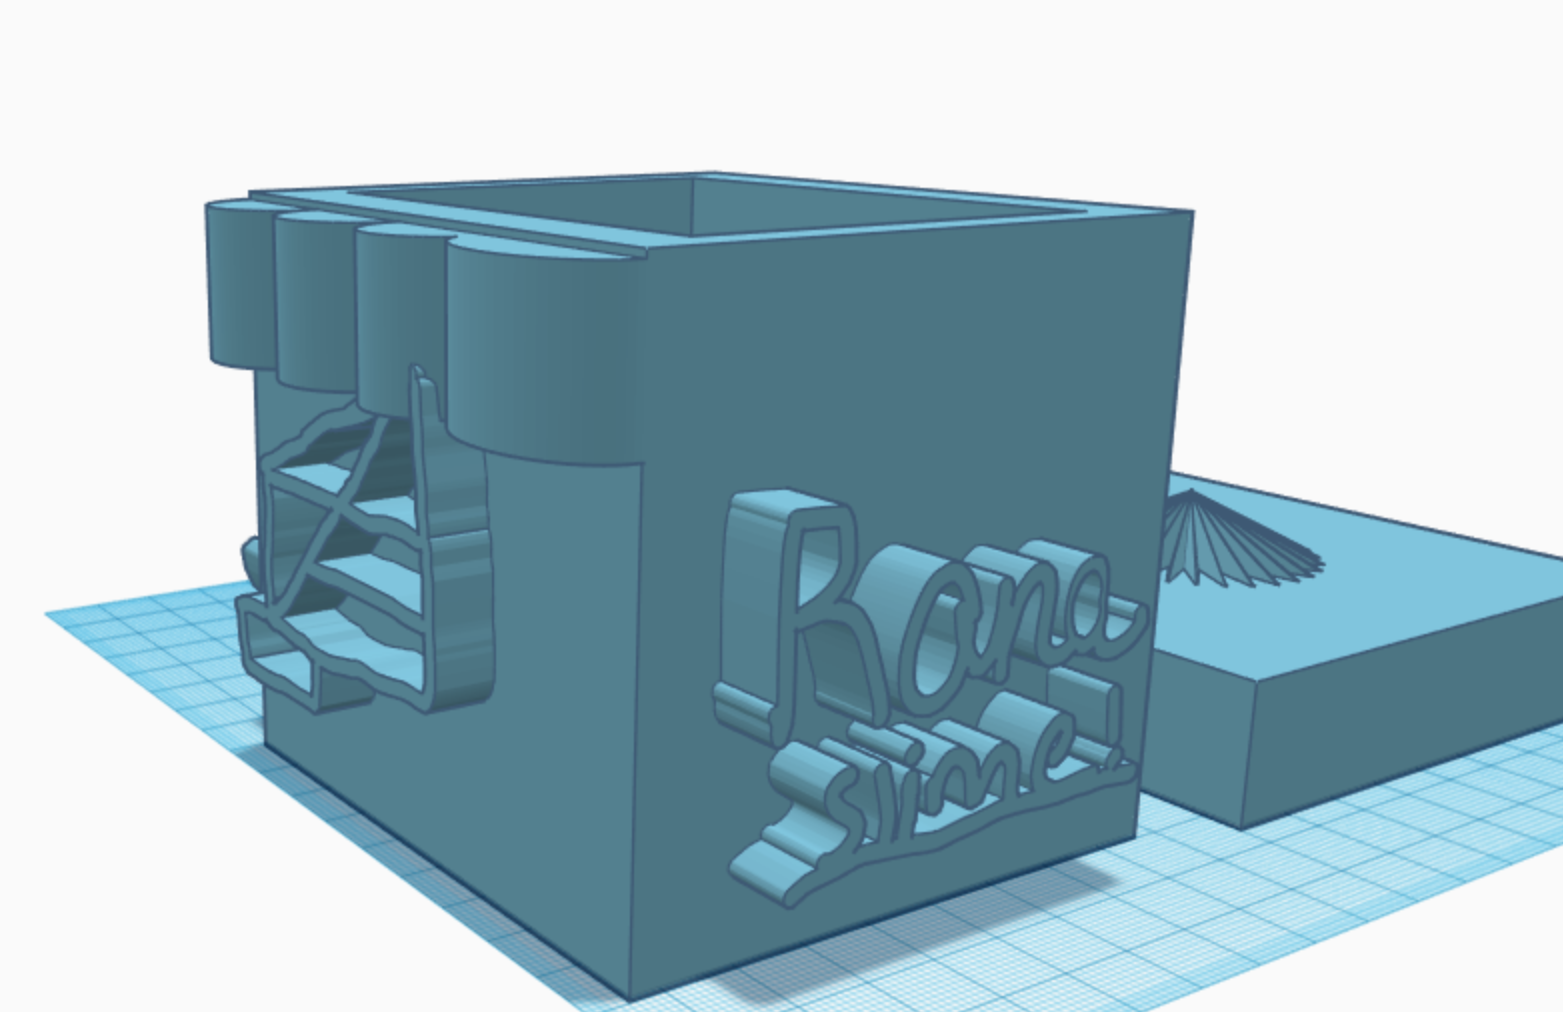
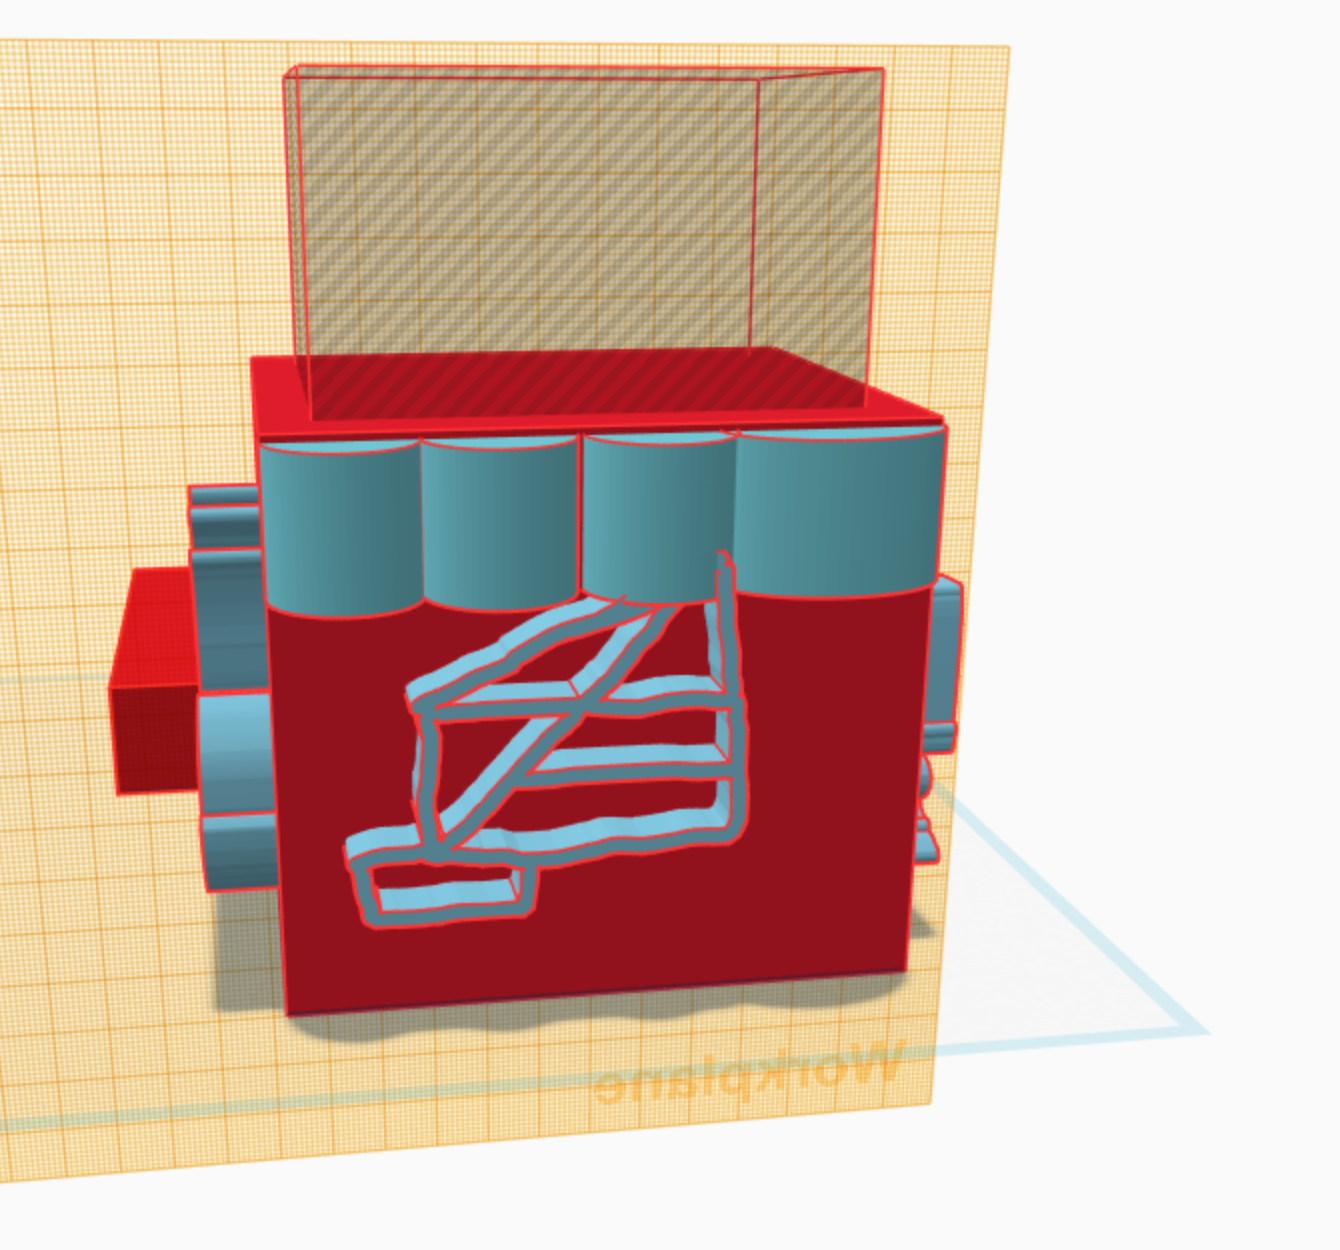
Print check list: If you intent to print student’s work it is imperative that students and a teacher check that their work is correct for printing, otherwise you will come across numerous printing errors which will take an unfathomable amount of time to rectify. Making sure none of the design is under the workplane, making sure all shapes are thicker and wider than you might imagine (otherwise pieces will just snap off once printed)
Transparent: I would recommend NOT allowing students to use ‘transparent’ as a colour options in the design program itself (located under the colour choices section). It can be difficult to see what is transparent or a ‘hole’ if you use the transparent button and students often think that if their design is printed using clear filament then they will be able to see inside like clear plastic, this is not the case. Clear filament still produces a cloudy appearance.
Pre-made Shapes: I would limit or not allow students to choose items from the pre made/ drop down menu (located in the right hand side tool bar). These are made by professionals and although these look great, they take up a lot of memory and we had tremendous trouble downloading student’s designs that used too many of these.
Here are other ideas for linking art with 3D design:
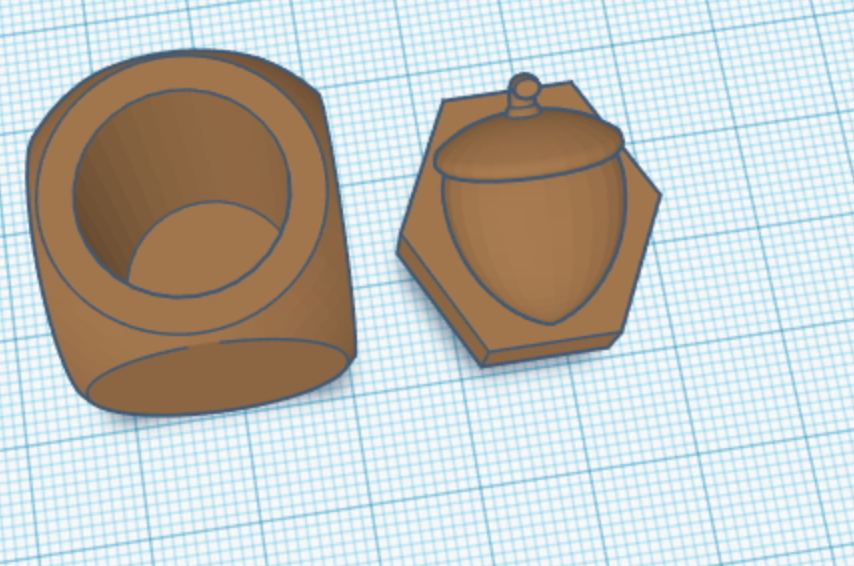
Make a stamp and use it in art class, design and print earrings, luggage tags, Christmas or holiday decorations, pencil toppers, pots for growing plants, textured painting tools, containers or objects for mixed media work. Students could also design and print tools for clay making or bubble wands and sell them. You can also design buttons and zippers and creative parts for headbands.

Laser Cutting
Having a laser cutting machine is even more helpful than a 3D printer in my opinion. A laser cutting machine allows very specific and complex or super simple shapes and patterns to be cut from a range of materials such as Perspex, wood and cardboard or even engraved. The software we use is called 2D Design and is not very student friendly, even as a teacher I find it challenging to use and remember the steps necessary to cut something out correctly. The laser machine also requires an exhaust fan so it not the simplest of machines to be installed.
Our machine has allowed us to cut templates for animals and specific artist shapes for example Hundertwasser or organic shapes from artist Henri Matisse. They can also be used to cut complex stencils that students can then use for graffiti art.
More tips on ways to incorporate the Laser cutting machine into lessons coming soon!