Printmaking

Simple printmaking on fabric (year 3)
Basic Printmaking
My all-time favourite media to work in is printmaking. Over the years I have tried everything from found objects and fruit and vegetable printmaking to string and hot glue stamps, to collagraph prints, Styrofoam, lino cutting, graffiti art and Gelli prints. A great way to make textured backgrounds is to use simple fruit and vegetable or objects or pre bought or made textured stamps. I have found that string, hot glue and collagraph prints not to be particularly effective and as always it has taught me to always try out these styles and objects to make sure they work before conducting a lesson!
Gyotaku Japanese Fish Prints: One of the simplest and most effective basic printmaking techniques is gyotaku prints. This requires a dead fish (don’t forget to leave the scales on), painting acrylic or printmaking ink on top, pressing gently over the fish with tissue paper and the resulting prints are incredibly realistic. Although this is not exactly a sustainable or necessary art experience, we always make sure to do some observational drawings with our frozen fish first before using them for printmaking to avoid waste as much as possible.

Styrofoam & Gelli Plates
Styrofoam is a fantastic material to use but it can be tricky to find the correct styrofoam to use. Younger students find it easier to draw on thin foam and to scratch into the surface using a very sharp pencil. We have tried using acrylic paint and tempera paint; however I find that traditional and high quality printmaking ink, applied with a roller will result in the best prints.
Gelli plates are reusable soft plates and are fantastic to use. There are quite a few recipes online if you prefer making your own plate. I have managed to make some plates that work but it is a little messy and for a larger class sizes, it is time consuming. The downside of using Gelli Plates are that they are quite expensive, so purchasing enough to share for a class would be costly.

Giant summer silk screens (Year 5 & 6)
Lino, Graffiti &
Silk Screens
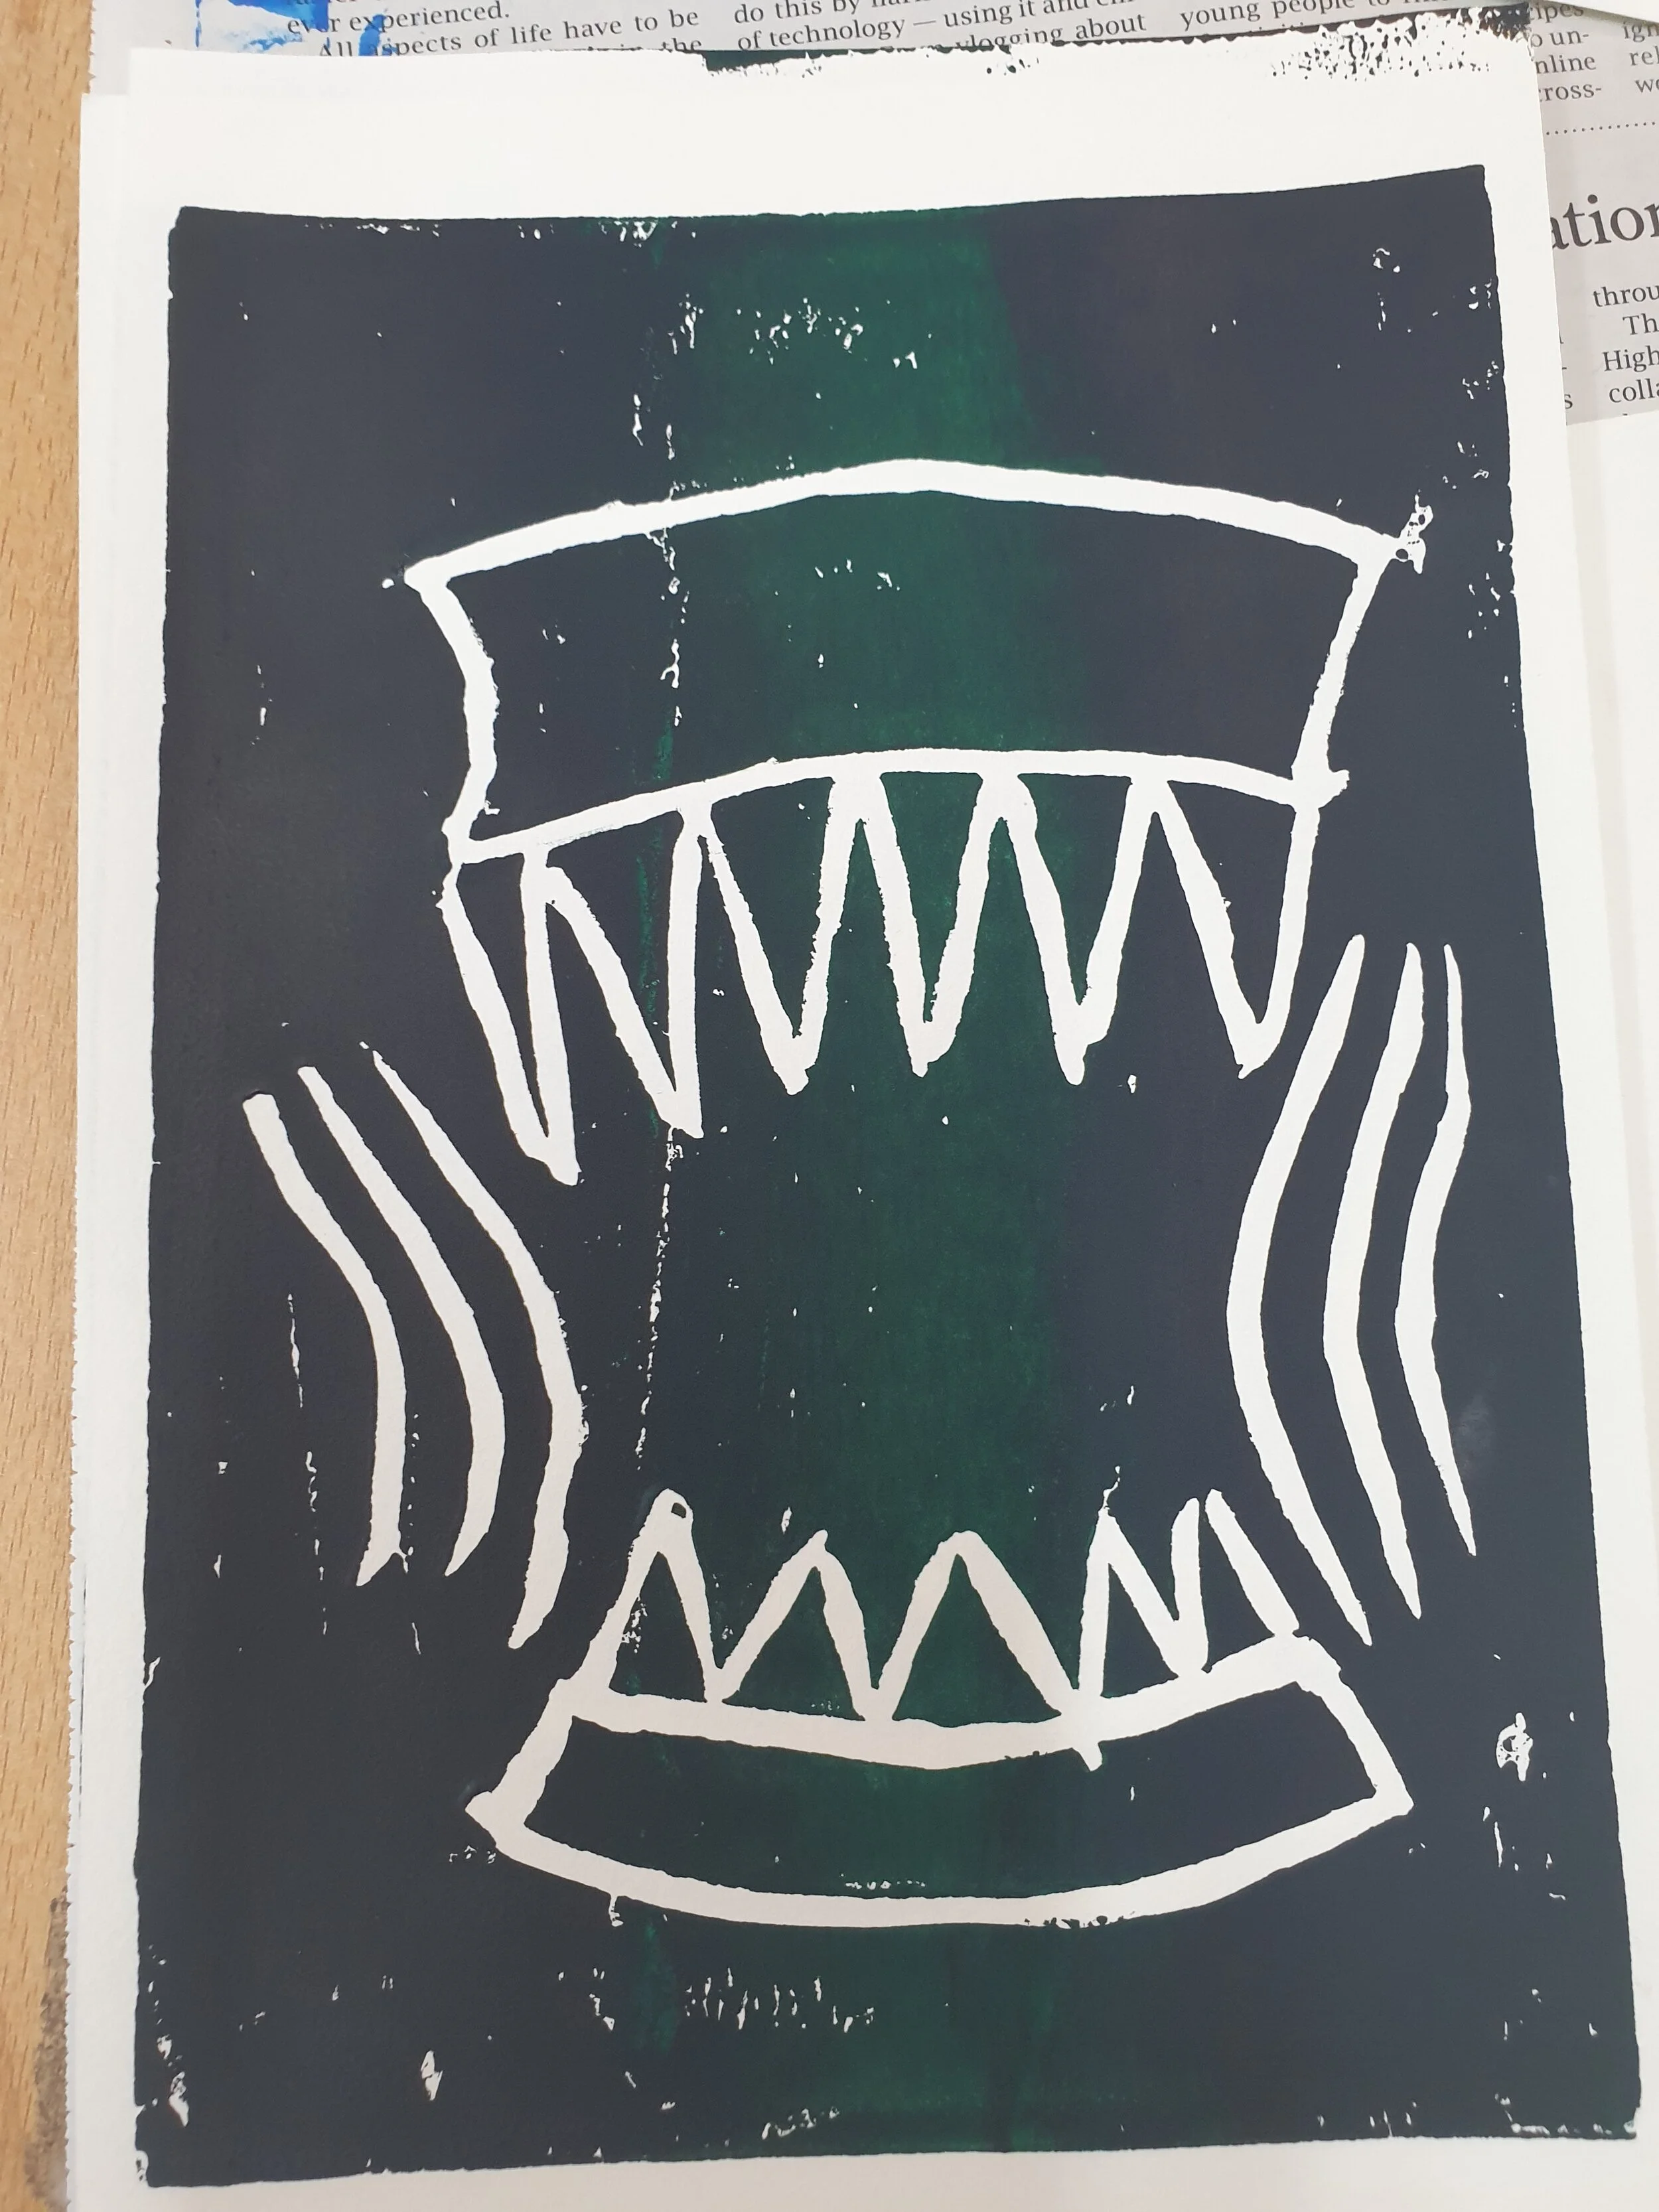
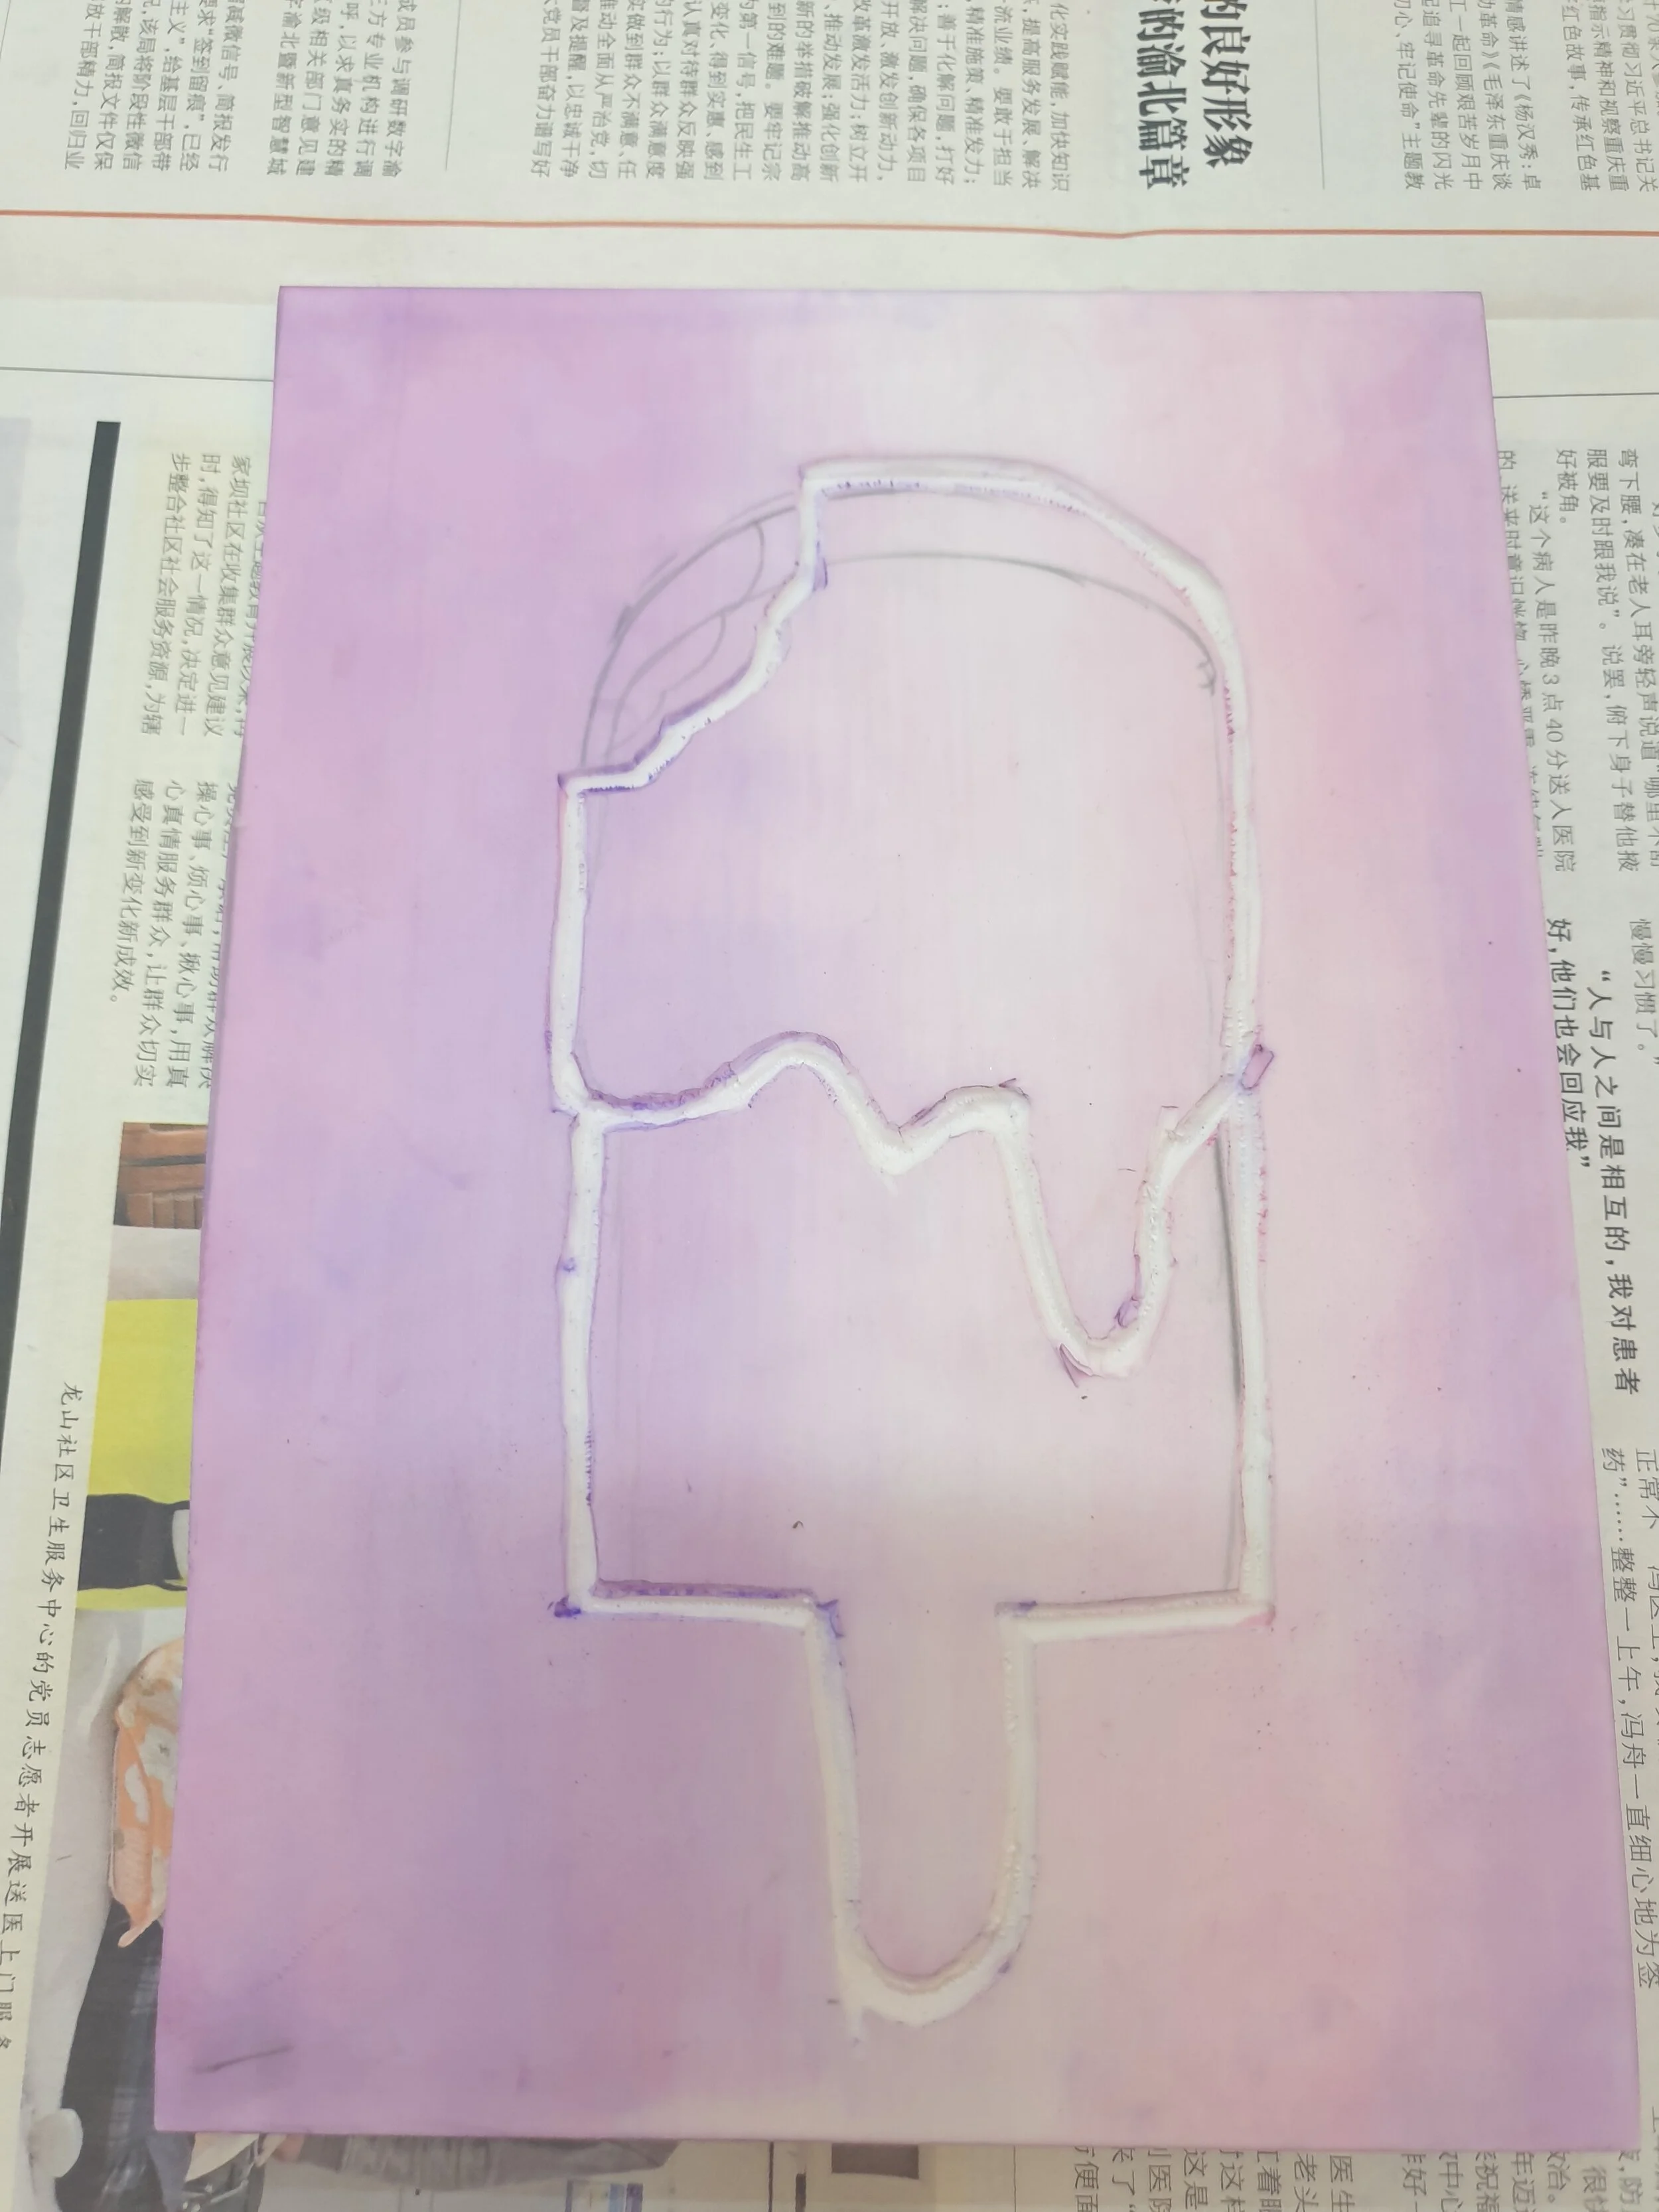
Lino: As a child I can still remember the joy of slowly cutting into lino and being able to make a neat and accurate print and I find that my students love cutting lino or using carboard and an exacto knife to make a graffiti stencil and print. Softer rubber plates now make it much easier and safer to cut into than traditional lino. We make sure to do a lot of explicit teaching and we spend significant time drawing different lines and shapes onto scrap lino before practicing our cutting techniques.
Graffiti Art: My students and simple obsessed with graffiti art and I think there are multiple layers with the graffiti world that can be used to engage students. Recently we have found that using SLICE PRODUCTS much safer as their blades are made from ceramic. They are fragile and we did initially break a lot of blades, but the company kindly gave us some extra blades for free. We spend a lot of time using practice sheets printed onto thicker cardboard and getting comfortable both a cutting matt and different blades. This is a great opportunity to talk a lot about positive and negative space and the power of symbols.
Silk Screen
Last year we discovered some hidden silk screens in our storeroom and were very excited to try them out. I was lucky enough to attend a refresher workshop with the amazing Sarah from Pinyin Press, (https://pinyinpress.com/) here in Shanghai. For our students we tried using both cardboard as a base and sticky ‘contact’ paper (adhesive vinyl). It was quite complicated to cut both these materials and to make sure our paint did not ‘bleed’ underneath our stencil. When we used adhesive vinyl, we found that it was a little challenging to stick it smoothly onto our silk screens. Our students did love making larger size prints and being able to change the colours more easily, but without a high powered hose to clean the silks screens it was faster to make and cut their designs but more challenging overall than using lino.
Age appropriate: The necessary hand strength, fine motor control, safety concerns and concentration required for these types of printing mean that I usually reserve these for my older primary school students (upper primary, years 5-6). I have tried these with younger students and found it to be too physically difficult for many of them to master, resulting in disappointed students.